I get a lot of questions about the computation speed versus the quality of photogrammetry solutions. Now that I’ve finished my fourth review of a desktop program I though it was time to start a new series where I will benchmark various applications with different kinds of images and goals.
I’m starting with a test that will be most important when people want to choose between hardware-based 3D scanning and Photogrammetry. Often a deciding factor in this is processing time. It’s good to know that all 3D scanning methods require time for processing and for hardware scanners this greatly depends on the accuracy of the scanner. So I took a processing time average between processing times of depth sensor software like Skanect and professional-grade solutions like EinScan and Artec Studio.
In general, I found that for everyday projects where speed is more important than ultimate quality, the 15-20 minute mark can be considered “fast”. When I do 3D renders for animation or VFX I call this coffee-break rendering. It’s the exact opposite of doing overnight computations. Realistic enough for tight deadlines and small budgets.
Because I think every story should contain an automotive analogy I decided to call this experiment a Photogrammetry Software Drag Race — it’s short, it’s fast, it’s dirty. This post is not about creating stunningly beautiful 3D models — it’s about efficiency and productivity.
The Software
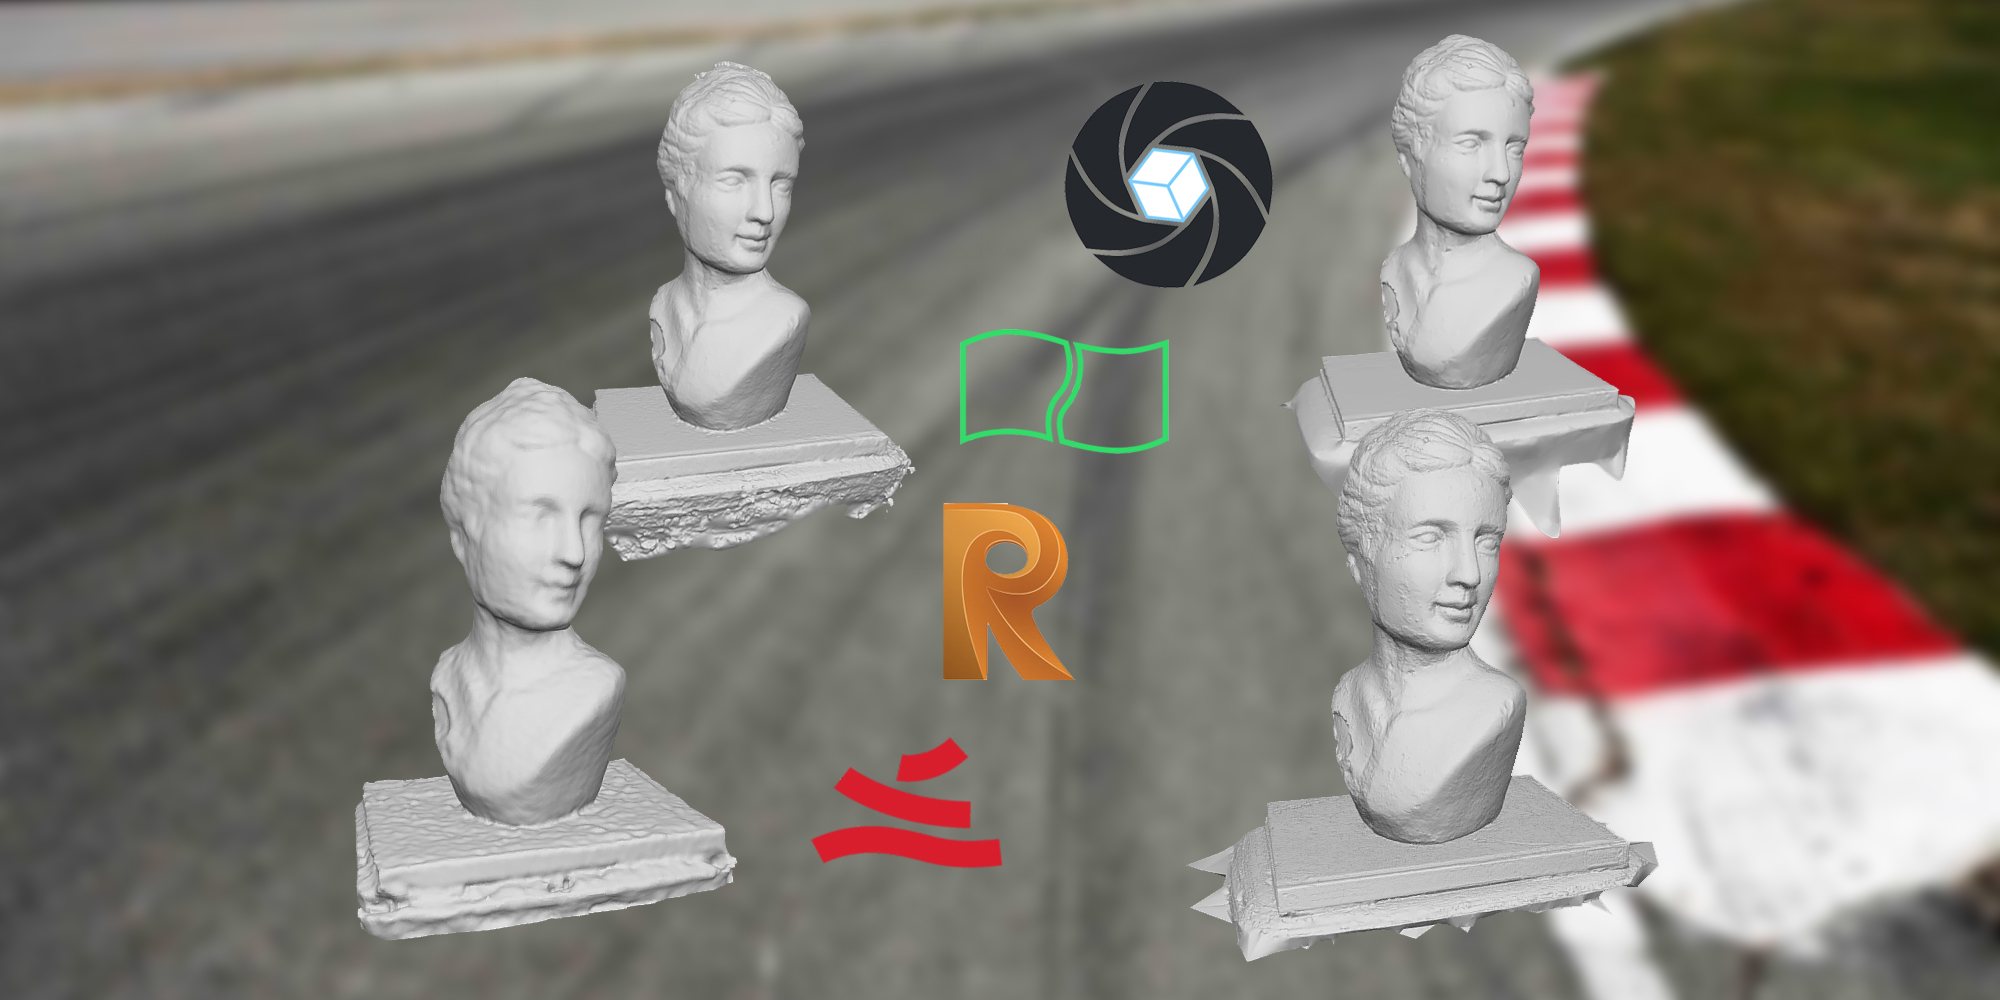
Before I dive into the results, here are some details about the four programs — the race contenders if you will — I’m using:
*ReMake is no longer a separate product and is now a cloud-only feature of ReCap Pro
**On Sale for $2800 until April 30th, 2018
Test System
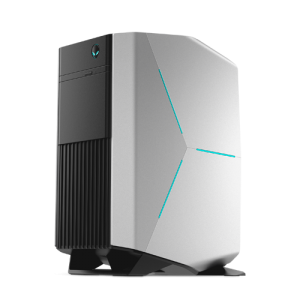
My PC is simply a (VR) Gaming PC with some upgrades. Nothing workstation-grade or anything.
- Alienware Aurora
- Intel i5 6400 CPU
- 32GB Corsair Vengeance LPX DDR4 RAM
- 1TB Samsung 960 EVO Series SSD (PCIe NVMe M.2)
- Nvidia GeForce GTX 1070 GPU
Test Photo Set
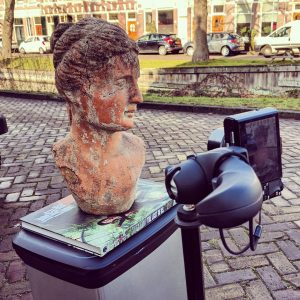
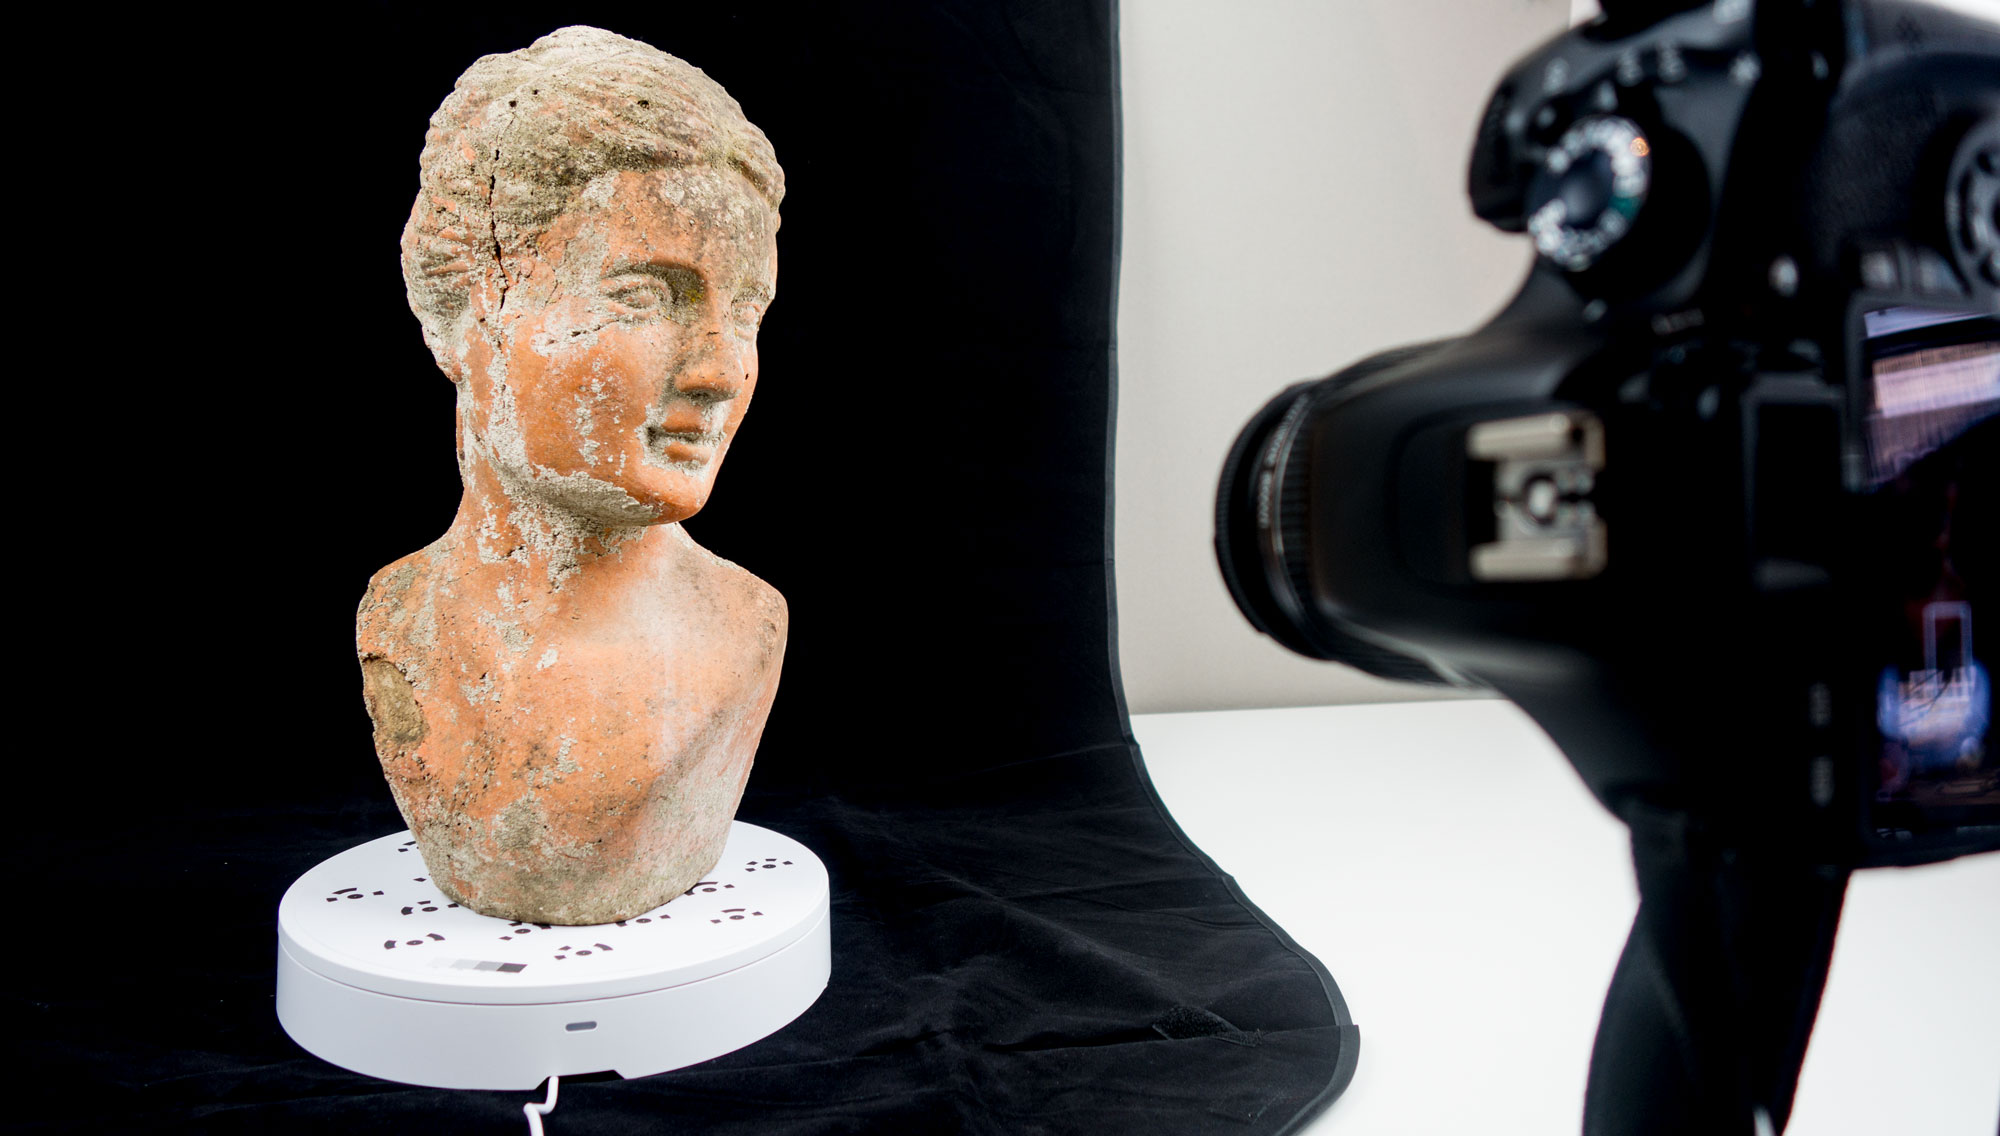
Again, nothing special here and the photo set is quite small. I shot (just) 57 of this 40cm tall stone bust, outdoors, with my 21-megapixel Sony RX100 II camera on a Manfrotto Action Tripod. Two cycles from an upward and downwards-facing angle and a few extra photos.
Manual focus, low ISO, small aperture, locked auto-exposure.
In other words: something anyone can do. But results always depend on the subject. This bust can be considered an easy subject because it’s opaque, matte and has a lot of surface detail.
Results of < 20 min Drag Race
My testing procedure for this benchmark was very simple: find a setting in each software that produces a result in under 20 minutes on my (otherwise idle) system.
Texture wise they where all good. These programs could all make nicely-mapped 4K+ textures. If you want to see textured models, check out the review of each application by clicking the buttons in the table above.
So I chose to focus on the geometric quality of the results. That’s why I’m displaying all models below in Sketchfab’s recently updated MatCap mode.
I deliberately didn’t crop away the book cover. I use that book both for registration purposes but also to check how well photogrammetry algorithms can detect and render a totally flat surface.
Here are the results in order of fastest to slowest:
4 minutes — RealityCapture (Preview preset)
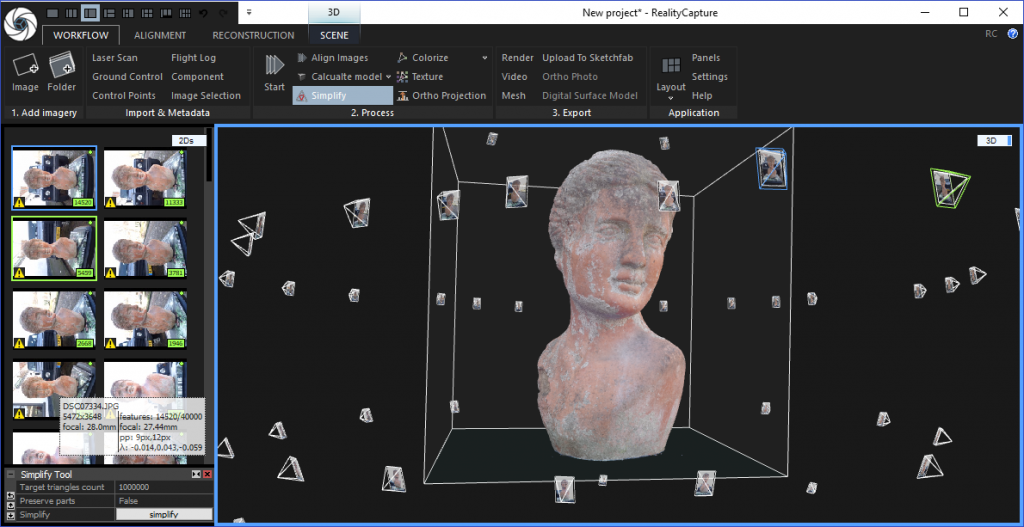
Yes, that’s four minutes — totally crazy! It might not be very detailed but it’s very similar to the result of a scan made with a depth sensor like the 3D Systems Sense 2. As far as I understand the Preview preset of RealityCapture doesn’t use the more sophisticated “depth mapping” technique but instead wraps the polygons straight onto a sparse point cloud. This makes the geometry a bit noisy but nothing a smoothing algorithm can’t fix. Unfortunately RC doesn’t have any mesh editing tools, so smoothing has to be done externally. Update 2018: RC now has mesh editing and new selection features. Read my full review update.
The book’s surface looks nice and flat but the edges are far from that. Also the transition between the bust and the book isn’t crisp. RC wasn’t able to distill the very top of the head but instead automatically filled the hole. You can enable the Wireframe in the Sketchfab embed through the gear icon to see the large polygons on the top.
I’m not to keen on using polycounts as a quality metric, but for comparisson: this one has 212k polys.
13 minutes — Zephyr (Fast preset)
Zephyr’s only preset that could compute the model within 20 minutes was Fast, which to my knowledge also skips depth mapping like RealityCaptures Preview preset. It took three times longer than RealityCapture but the result is a lot wobblier. That doesn’t really show in the bust but certainly does on the book, which has become more like a sea. That doesn’t happen in the other modes, but those take significantly longer than 20 minutes.
On the upside: Zephyr does feature mesh editing tools like smoothing. I’ve covered those in my recent 4K Video to 3D Tutorial.
The polycount is 245k but that includes a small orphan piece of geometry flying above the head. The head itself has a small hole on the top, this could be filled within the software but I deliberately didn’t perform any post-processing operations for this test.
15½ minutes — PhotoScan (Medium preset)
Photoscan’s Medium preset took only two and a half minutes longer than Zephyr’s Fast one and delivers a lot more detail. At 578k the polycount is twice as high and it shows in the results. The eyes are a lot more defined and the damaged area on the side is crisper. There’s also some detail from the cracks in the face, but very subtle.
The book looks good and the transition between the cover and the bust is more defined than the previous examples. The top of the head turned out a bit strange, with some kind of blob on top but still a small hole and some flying debris.
15½ minutes — RealityCapture (Normal preset)
This is the second time I feature RealityCapture in this post, this time with the Normal preset. It took exactly as long as the Photoscan Medium example but is a lot more detailed. The 6.4 million (!) polygons might are way too much for the actual detail but this is simply the best result of the test. There are many crips details on the face from both the cracks and the cement.
The book also came out great although the algorithm did turn a few dark parts of the print (like the leg of the girl) into geometric dents. While the cover surface is very smooth and matte in reality, the characters are covered with a subtle glossy finish. That might have confused the algorithm.
17 minutes — ReMake (Standard preset, locally***)
***I left this result in for quality comparison only, since ReMake is now ReCap Photo and no longer offers local processing.
You could process this photoset in through AutoDesks cloud computing service — even with the Free version of ReMake if you wisely discard 7 photos to meet the 50-photo maximum. I did try this but between uploading and downloading the queue time is too big of a variable to test scientifically. So I chose to only include the locally computed result.
The Standard preset in ReMake has no extra options like the Ultra version is a lot faster. While the polycount is the lowest in the lowest of all examples on this page — just 113k polys — it has a lot more detail than the first two. Although the cheeks have less detail than the result from PhotoScan, the eyes are more defined. Overall the stone details seem to have been smoothed out a bit too much but it’s a good result nonetheless.
ReMake was the only application that correctly rendered the top of the head without a hole, low-poly hole filling or blobby surfaces. It also contains no flying particles and is otherwise very clean.
Conclusion & Very Important Note
This post is just an example based on a single photoset from a single object. That makes it zero percent scientific. Also, RealityCapture might have won this Drag Race in terms of both speed with the Fast preset and quality with the Normal preset, but an organic object like this is very favorable to its algorithms. Read my Full RC Review to see that it can’t always handle non-organic objects well.
This is why I started this post as a new series. I will continue publishing new test result with different photo sets and testing goals. I’ll surely do a test to see what software can get the utmost details out of photos, but those presets can easily take up an entire night of processing on my system so be patient.
Thanks for reading and feel free to suggest new testing goals for future comparisons in the comments below!
And if you think this review could be useful for your friends and followers, I’d appreciate it if you share it on your favorite social network!
If you need tailored advice about Photogrammetry and/or any other 3D capture methods — or can’t decide between them — please consider my Consulting Service.
Finally, if you want to be the first to know when the next part of this series is live, follow me on one of the social networks below.
Full Photogrammetry Software Reviews
Autodesk ReMake Review
Agisoft PhotoScan Review
RealityCapture Review



Hey Nick,
Just found your website and wanted to give you some love!
We’ve just started playing with 3D scans and it’s immensly helpful. So far only tested Agisoft and Reality Capture, for now I think I will keep going with Reality Capture as I am still trying to learn how to best take the photos, it’s then very nice to be able to get models fast thanks to RCs quickness.
Keep up the great work!
/Fredrik @ http://ivarsthlm.com/
Nick
Love the website!!
We note that you do not have reviews of the NetEngine nor the Matter and Form. We did detailed reviews as well as tips during regular usage on both. We also have many other detailed descriptions of how to use Agisoft’s Phototscan. Listen to the 3D Printing Today podcast; threedprintingtoday.libsyn.com
or search iTunes for 3D Printing Today.
Great reviews! I wonder if you will ever do a drag race between the different technologies. It would be cool to see something like the structure sensor compared against the Agisoft Photoscan software to see which technology dollar for dollar gives a more accurate result.
[…] Here you can read the full article […]
[…] tool? AutoDesk ReMake, Agisoft PhotoScan, RealityCapture, 3DF Zephyr or something else? Nick Lievendag has published a breakdown of 4 photogrammetry competitors to help you figure that […]
This a great review but your comment about smoothing in RC irks me. Sure there’s no direct mesh editing tools but it does have a smoothing tool! It’s next to the filtering tool.
Is it possible to use full hd or 4k video in place of photos for make 3d with the above software?
Yes, with 3DF Zephyr. I’ve written a Tutorial about that very process.
This post is really amazing.
Village Talkies a top-quality professional corporate video production company in Bangalore and also best explainer video company in Bangalore & animation video makers in Bangalore, Chennai, India & Maryland, Baltimore, USA provides Corporate & Brand films, Promotional, Marketing videos & Training videos, Product demo videos, Employee videos, Product video explainers, eLearning videos, 2d Animation, 3d Animation, Motion Graphics, Whiteboard Explainer videos Client Testimonial Videos, Video Presentation and more for all start-ups, industries, and corporate companies. From scripting to corporate video production services, explainer & 3d, 2d animation video production , our solutions are customized to your budget, timeline, and to meet the company goals and objectives. As a best video production company in Bangalore, we produce quality and creative videos to our clients.