Next up in my series of professional photogrammetry software reviews — after Autodesk ReMake, Agisoft PhotoScan and RealityCapture — is 3DF Zephyr. It’s developed by Italian company 3Dflow that was established in 2011, and has just been updated to version 3.3 which I’m using for this review.
Pricing
There are 3 paid versions of 3DF Zephyr: $149 Lite, $3200 Pro, $4200 Aerial. These are all perpetual license prices so there are no subscription costs like with RealityCapture and ReMake. You can also get the Lite version through Steam.
I won’t cover the Aerial version in this review and I think that the Lite version will suit most readers as it offers up to 500 photos and dual GPU support. If you need more photos or want to leverage more GPUs, you’ll need Pro. That’s also true if you want to combine photogrammetry with data acquired from laser scanning.
But that’s not all. Recently, 3Dflow also introduced a completely Free version of Zephyr. With a 50-photo limit, it directly competes with the free version of Autodesk ReMake. While latter does offers only cloud processing, Zephyr Free can run locally on almost any Windows system with a DirectX 9+ compatible video card. Needless to say that if you want to do photogrammetry locally, and value your time, you’d better get something more serious. An Nvidia GPU is especially helpful since some algorithms are greatly accelerated by CUDA.

If you do have a somewhat decent system or patience, it’s good to know that while ReMake’s free version is limited to its Standard quality, you can get more details out of the same photo set 3DF Zephyr Free.
You can compare all feature from the different versions here.
Get Discount on 3DF Zephyr Lite
I recently reviewed the excellent 3DF Zephyr photogrammetry software.
If you use the button below you can order the Lite version with $10/€10 discount!
Interface
Like I’ve written before, I find it interesting to see how different all photogrammetry software is in terms of user interface. ReMake pushes this the hardest with a very icon-based design while PhotoScan has the most classic Windows look — but both are light in terms of color scheme.
The interface is nicely designed and arranged.
Like RealityCapture, Zephyr goes for dark colors, similar to current versions of Photoshop and other Adobe software. It’s layout and default (you can change it) orange-on-grey color scheme reminds me the most of Cinema 4D, my 3D editing suite of choice. This is certainly a good thing because I find C4D one of the most user-friendly 3D tools around.
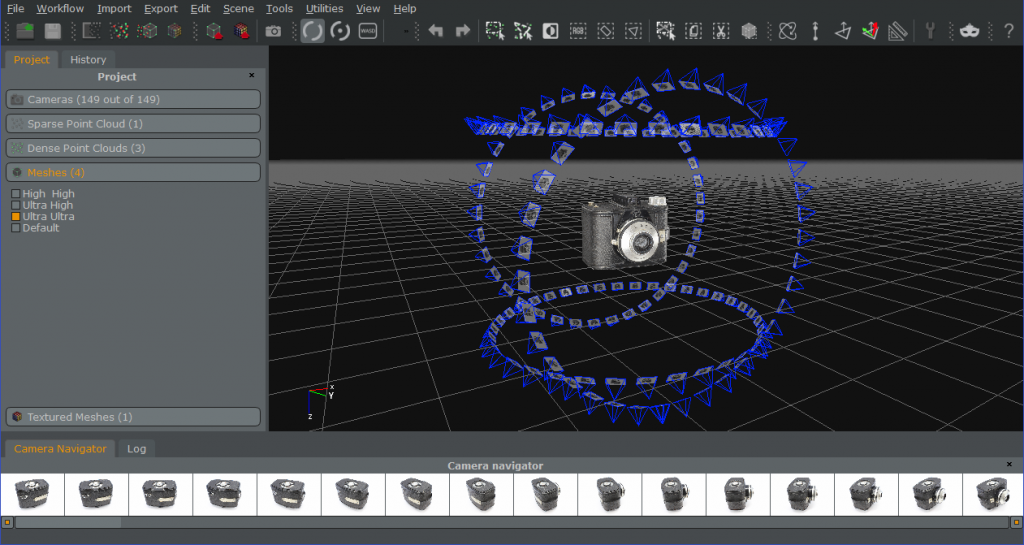
The interface is nicely designed and arranged and works especially well on wide screens (mine is ultra wide at 21:9 and it’s a great experience, especially in full-screen mode). On top there are a many icons that are mostly self-explanatory or only need to be hovered over once understand from the tool tip. To the left are all project-related items and it’s good to know that you can make an unlimited amount of Sparse Clouds, Dense Clouds and Meshes from the loaded photo set. The bottom panel switches between photos and log. Optionally, you can also have a panel on the right that differs between versions and can show the (very handy) Keyframe Animator (all versions) and or Registration & Measuring panels (Pro and Aerial).
Loading Photos
After loading photos (either JPG or all kinds of native RAW formats) into Zephyr it can cross-check its database for optimized calibration data. And after that you can directly choose how you want to have the photo set processed. The presets (there’s also an advanced mode with more settings) are clear: Aerial, Close Range, Human Body and Urban and I used them according to common sense.
The quality presets are Fast, Default and High (with additional variations for sharp edged objects) but it’s good to know that there’s also an Ultra option that has to be enabled through Settings since version 3.3. This option is hidden by default because new comers tend to select the highest quality without realizing that photogrammetry processing time can increase fast. I’ll get into the quality differences later.
There’s also an Ultra option that has to be enabled through Settings.
What I especially like is the fact that before loading the photos, you can already check Additional Options. Most importantly, you can set that after loading photos Zephyr will not just generate a Sparse Cloud but also perform the next steps: Dense Cloud, Meshing and Texturing. Of course, you’ll have to have some experience and good faith in your photo set to make this worth while. But for overnight processing it’s great to quickly set your computer to work before leaving the office.

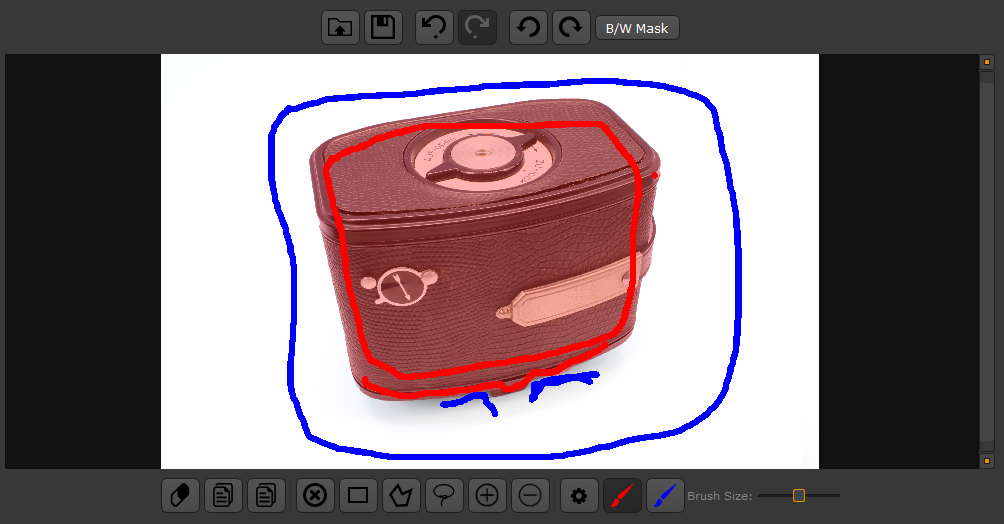
From the Additional Options, you can also choose to directly launch Masquarade, Zephyr’s dedicated masking tool. It’s especially handy if you use a turntable but haven’t been able to create an even background. Although I didn’t need masks for my photo sets the workflow is rather intuitive. By defining the foreground with a few broad red strokes and the background with blue ones, Masquarade can quite accurately isolate your object. This workflow is especially fast in combination with pen input from a Wacom tablet or touch screen.
Pro Feature: Markers
Zephyr Pro features the ability to print and detect coded targets. The marker workflow is different than the feature I tested in Agisoft PhotoScan Pro. Firstly, Zephyr supports only one kind of 16-bit square-shaped target and they need to be printed relatively big (minimal 1/4 A4 office paper for close range capture). Secondly, you’ll need to run camera alignment first before the targets can be detected so they won’t really aid hard-to-solve shoots.
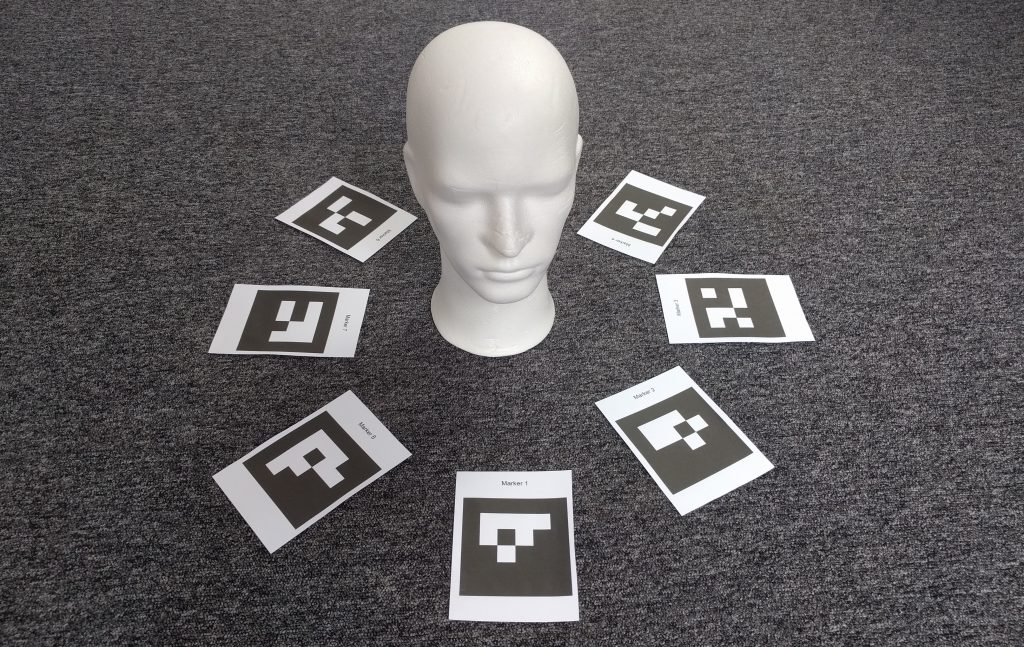
If I understand it correctly, the markers in Zephyr are meant mainly for scaling and registration purposes. I can imagine that if you would scan large environments, having these markers printed on A4 or A3 size could be a helpful benefit. For my purposes of scanning objects and people, I didn’t really need them.
Loading Video
Zephyr doesn’t stop with loading photos. It also lets you load a video. And that’s a bigger USP than you might think at first. This is mainly because shooting video instead of photos greatly speeds up the capturing process. And now that many cameras and even smartphones can shoot video in 4K Ultra-HD resolution this kind of shooting has massive potential.
[Loading Video is] a bigger USP than you might think at first.
Of course you can use many tools to convert a video file to a sequence of separate images but beside the fact that Zephyr has this feature build in it also analyses the frames to discard ones that are too similar or blurred — a killer feature in my opinion.

This not only makes it a lot more practical (and more fun) to shoot objects but also makes it possible to shoot subjects with potential motion. It specifically allowed me to capture people, something that’s incredibly hard with a photo-by-photo approach. It also allowed me to shoot stuff outdoors in the center of a city quickly at just the right moment when there where no cars and cyclists passing by.
It actually opens an entire new workflow.
So it actually opens an entire new workflow which might very well be worth the trade-off in quality which is naturally lower from 4K video than high-megapixel stills. For low-poly 3D assets, it even works with 1080p HD video at an incredibly efficient processing speed. In general, using video will set the photo ordering to sequential which is faster than random photos.
I’ve put the results in the dedicated section below.
Other Photogrammetry Software Reviews
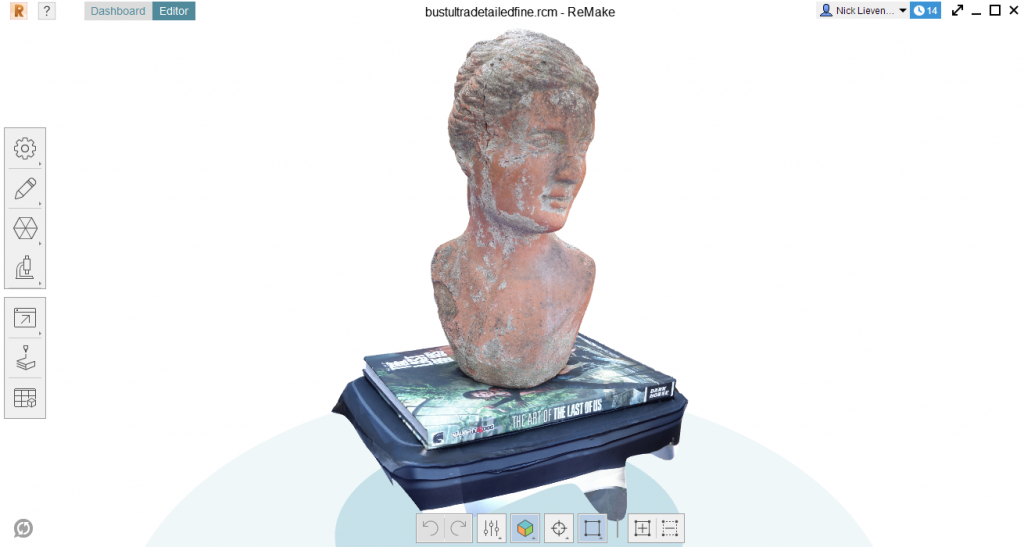
Autodesk ReMake Review
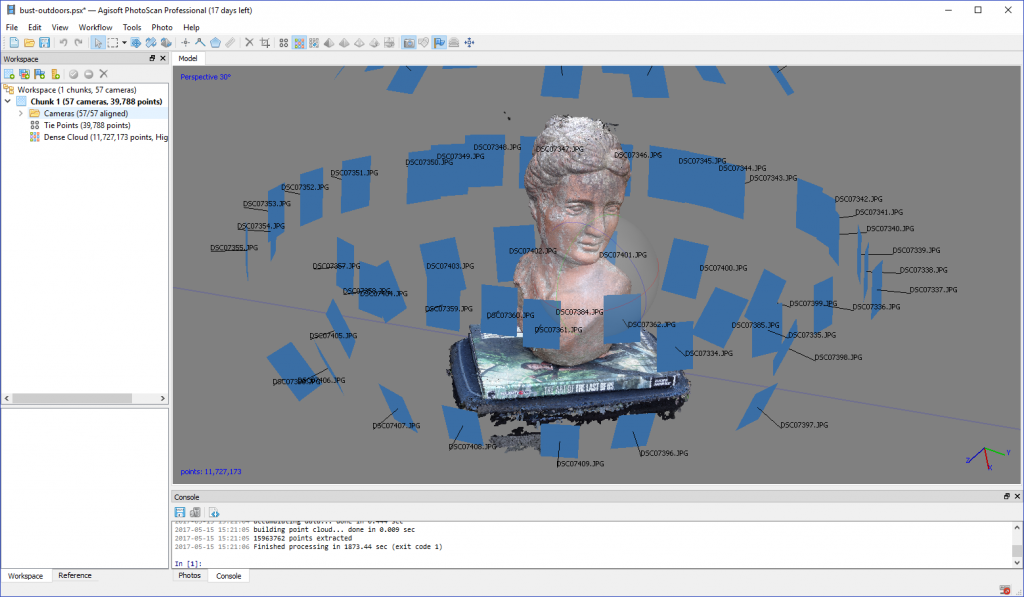
Agisoft PhotoScan Review
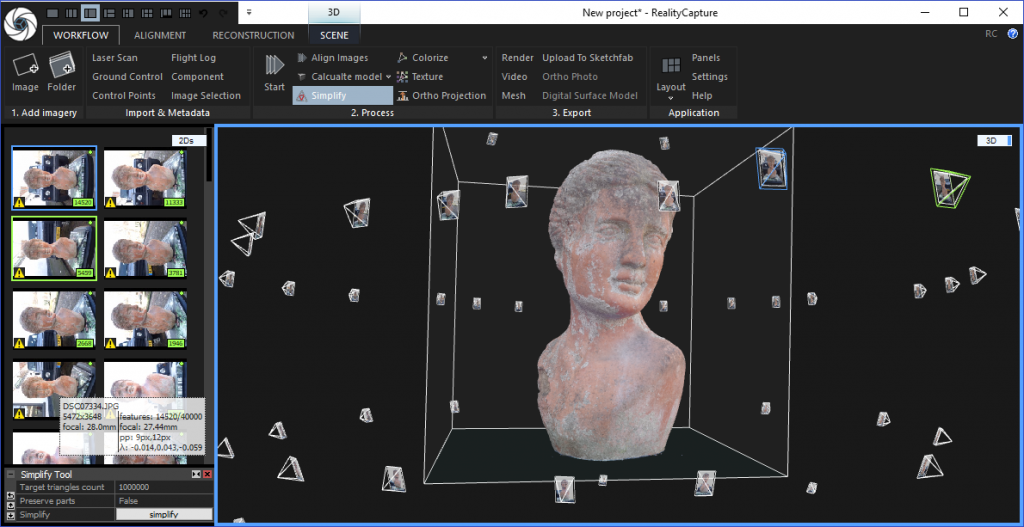
RealityCapture Review
Processing & Editing
Whether you load photos or videos, Zephyr allows great control over the four processing steps. Sparse Cloud generation is generally reliable and relatively fast although I had to set it to Deep to correctly solve the multi-angle turntable shoot of the vintage Agfa Clack camera.
Before I go into the editing features I want to point out that I greatly admire the fact that Zephyr lets you toggle between 3D navigation modes — Orbit, Pivot and Free Look — offers WASD navigation in the latter (great for game developers) and offers single-button navigation with Shift/CTRL modifiers for Zoom and Pan respectively (great for Wacom users).
Zephyr lets you toggle between 3D navigation modes.
If you’re going through the steps one-by-one (which is good to do if you have the time) you can first check if the Sparse Point Cloud looks good. It’s a good idea to move and rotate the scene if it wasn’t oriented correctly. This can easily be done with the Translate/Rotate/Scale Object tool which uses recognizable gizmos (my preference) or by defining a plane or up-vector.
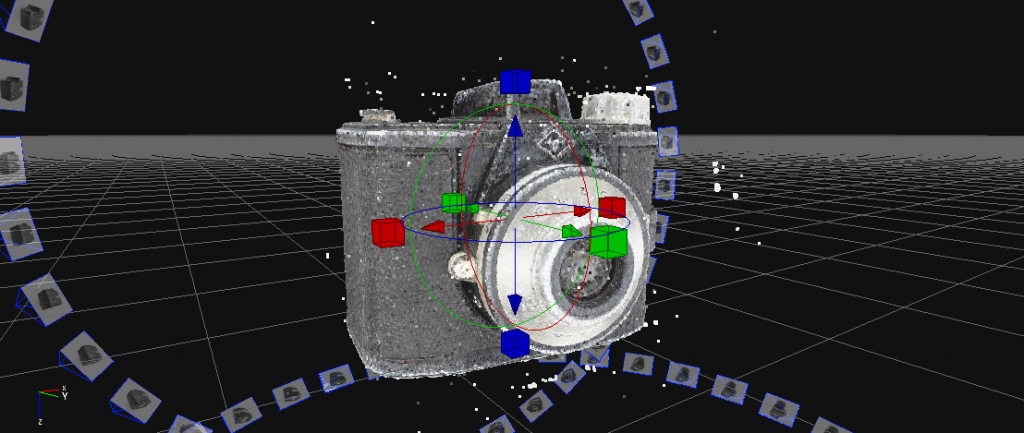
You can enable the Bounding Box to see if Zephyr has correctly determined your area of interest. Most of the times this was good in my tests, although I had to make it smaller a few times on outdoor shoots. Surprisingly, the Bounding Box cannot be manipulated with a all-in-one gizmo but instead has separate options for moving, rotating and scaling. In found this a bit inconsistent and time consuming, especially the scaling since you can only manipulate the planes that are facing the camera.
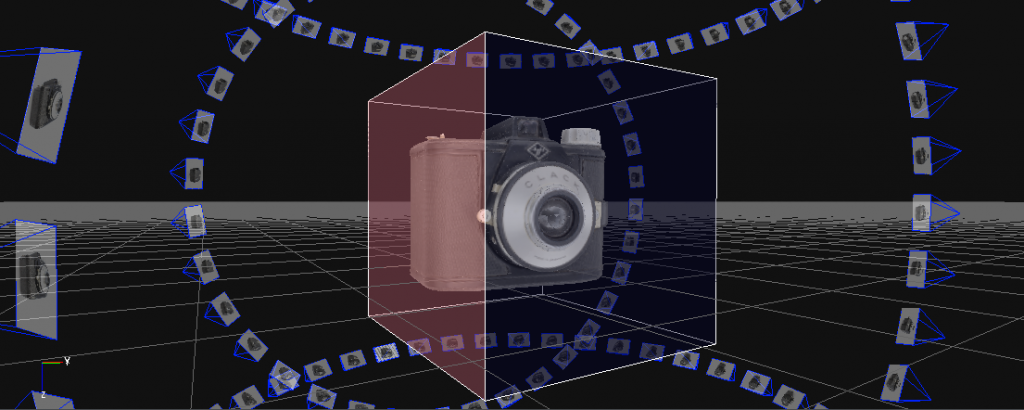
Next up, you’ll generate the Dense Point Cloud. Zephyr will discard anything outside the bounding box but choose the quality preset carefully. Version 3.3 features some speed improvements but I still found Zephyr relatively slow. I’ve put some processing times in the Results section of this review but for the 149-photo Agfa Clack model they where all over well 2 hours in total even at Default quality.
I did have to get used to those processing times after just having reviewed the incredibly fast RealityCapture but there are a lot of differences between the two applications that need to be considered. Besides the fact that RealityCapture requires a CUDA-compatible Nvidia graphics card and Zephyr doesn’t (but will be faster if you have one), the latter features previewing and editing of polygonal meshes which gives a lot more control and makes the workflow rely less on external programs.
The mesh editing tool set is comprehensive.
Meshing also takes a while but not nearly as much as Dense Cloud generation. The mesh editing tool set is comprehensive. It features everything from decimation to (selective) densification, retopology, various smoothing methods and (selective) hole filing.
By default meshes feature per-vertex coloring but you can also generate Textured Meshes. These are new copies of the original mesh and besides setting the texture resolution and quality, you can also choose to decimate the model in the same process. This is a nice touch since a lot of workflows — like Game Development — rely on low-polygon meshes with high-quality textures. Unfortunately for game developers, Zephyr cannot automatically generate Normal or Displacement maps from the high-poly details and map them onto the low-poly copy like Autodesk ReMake can.
While Zephyr isn’t the fastest photogrammetry application the progress indicator is a lot more informative than ReMake’s spinner. Although it does stick at 99% a way too long to make the ETA trustworthy.
Pro Feature: Batching
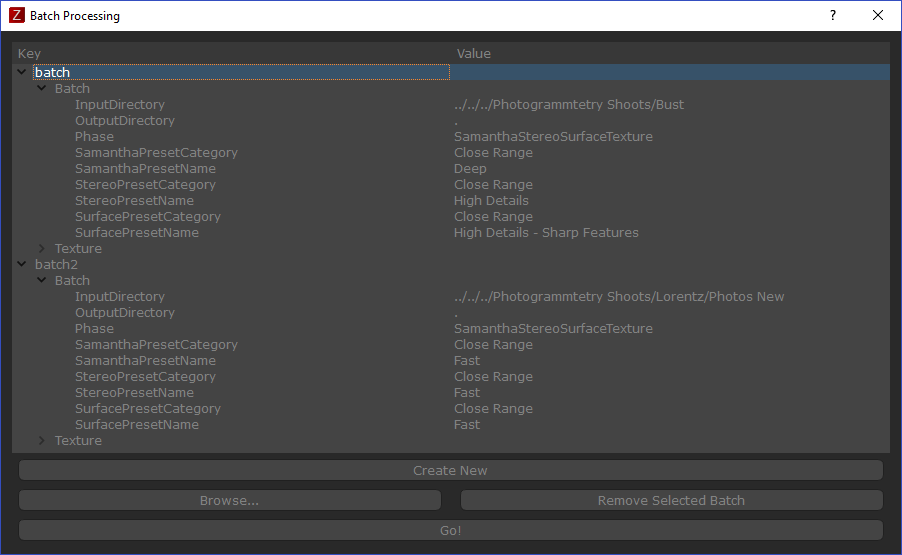
With 3DF Zephyr Pro you can batch multiple image sets with different settings. This can be a huge time saver is you want to process multiple projects while away.
Exporting
You can export the results from any stage into various file formats but be aware that exporting point cloud data can only be done with Zephyr Pro and up. Mesh export formats differ between versions:
- Free: PLY, OBJ
- Lite: PLY, OBJ, FBX
- Pro: PLY, OBJ, FBX, STL, PDF 3D, U3D, Collada
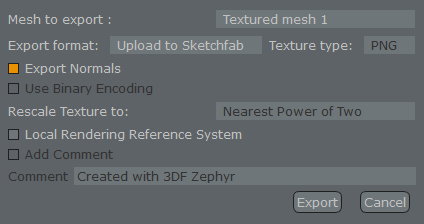
- All versions can also upload directly to Sketchfab for sharing and viewing in VR (and surely soon in AR). One small feature I missed here was the ability to set uploads to private. All models in this post have been exported directly from the program — a huge time saver.
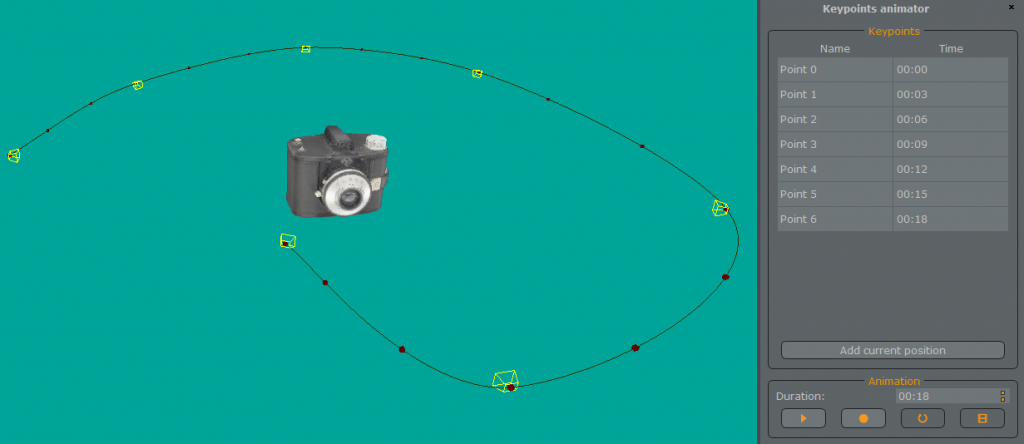
Besides exporting the 3D data you can also quickly render stills at any resolution or use the Keypoints Animator feature let’s you easily make a simple fly-through animation by moving the camera to different places and setting keyframes with duration. You can export this as an MP4 video in seconds. Just be sure to set the background color to your liking first and hide the grid and cameras in the general Options panel.
Results
Here are some of my test results from the same photo sets I’ve used for other reviews, including some comparisons.
Non-organic object on Turntable
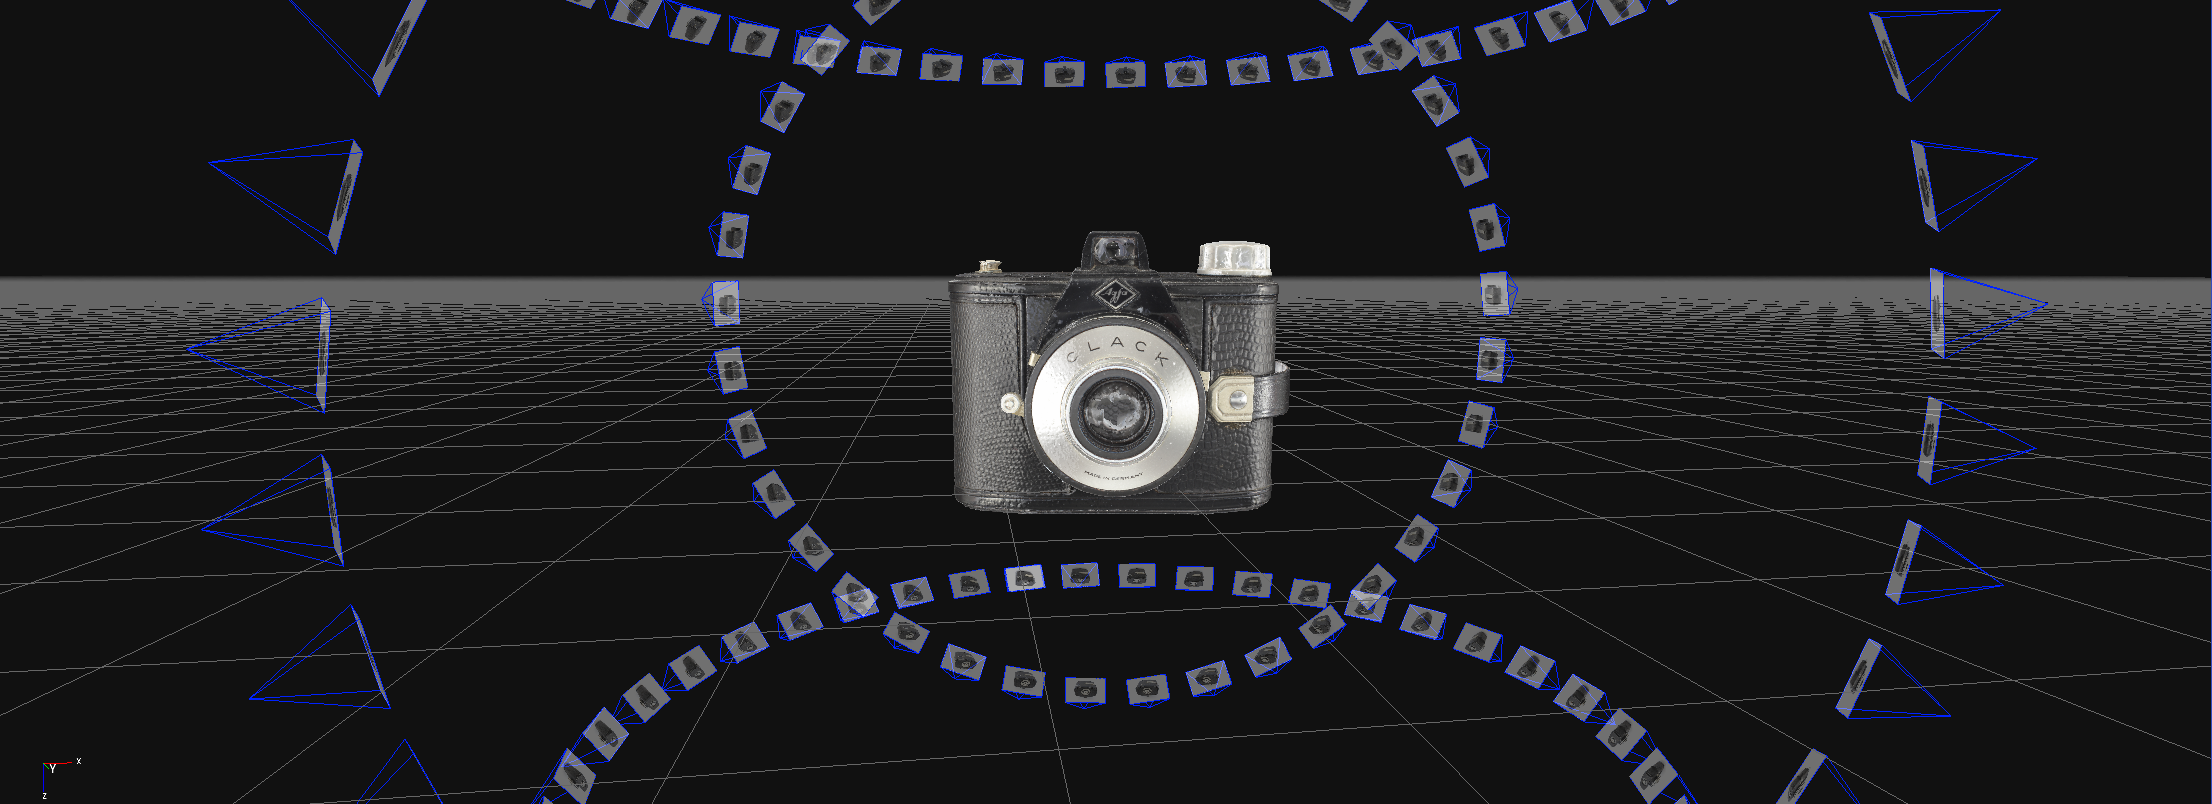
Let’s start with the with the Agfa Clack camera, which I shot with an 18MP EOS 550D (149 photos) on the Awesome Foldio360 app-enabled Smart Turntable from a single position but with the Clack rotated in four ways. All perfectly exposed in the light tent so no need for Masquerading.
My system is an Alienware Aurora R5 with 6th gen i5, 32GB RAM and Nvidia GTX 1070 GPU.The animation below shows the result after 1:00 hours of Sparse Cloud generation (at Deep) and at
- Default (250k polygons, 1:00h Dense Cloud, 0:30h Meshing)
- High (775k polygons, 1:20h Dense Cloud + 0:30h Meshing)
- Ultra (2,3M polygons, 5:00h Dense Cloud + 3:00h Meshing).
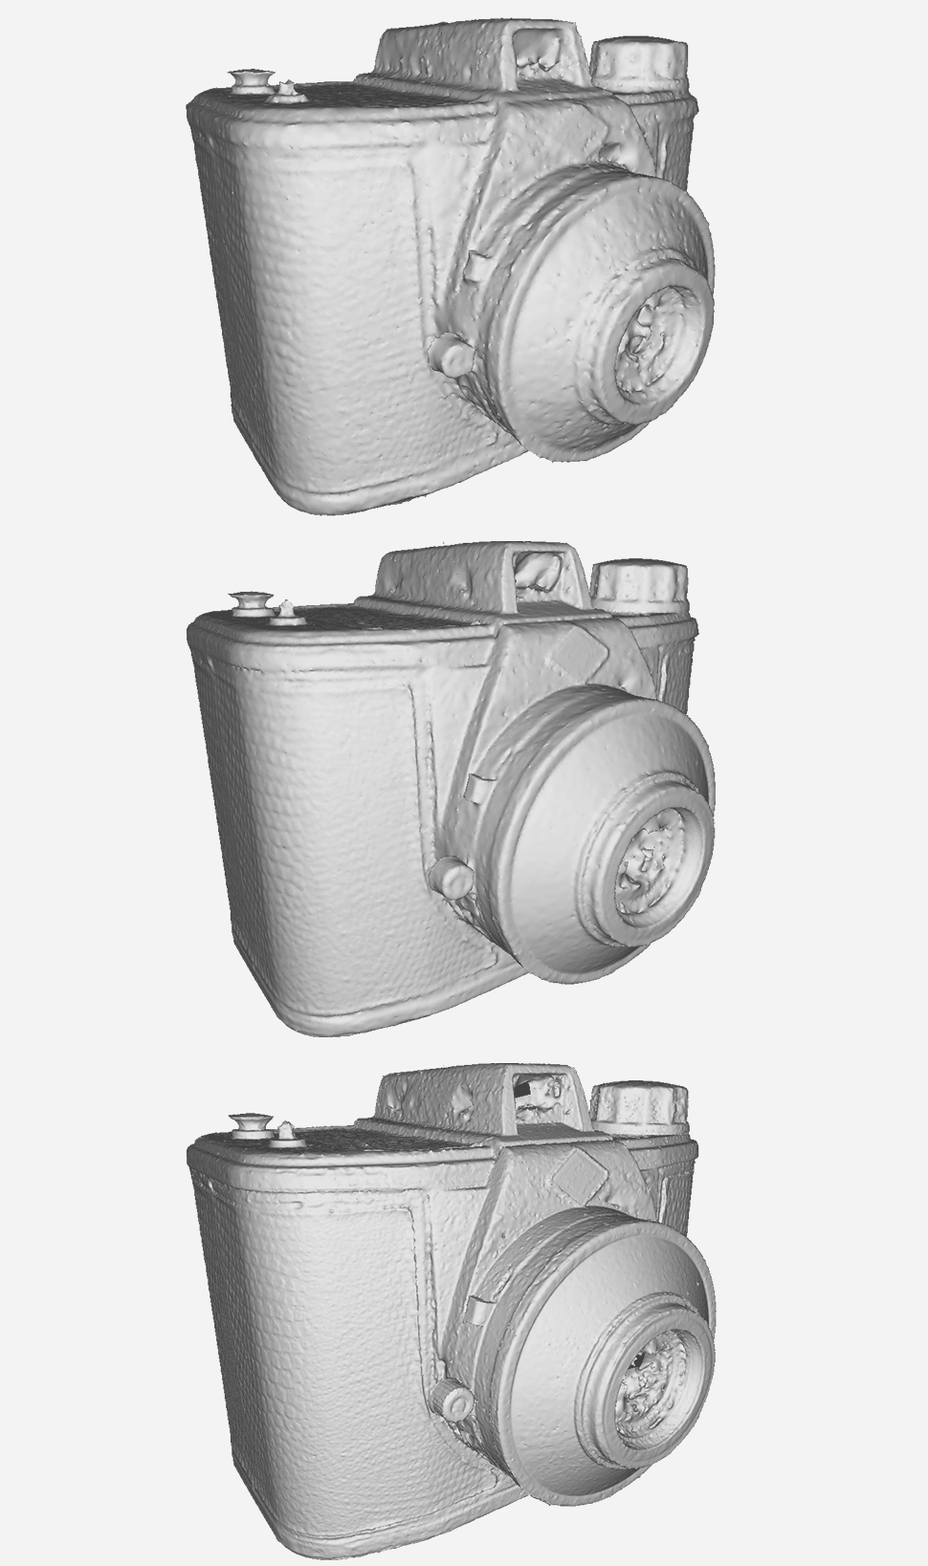
As you can see from the preview, the quality steps do make a huge difference. Judging the processing times, the time between Default and High was negligible on my system but it’s clear why they’ve hidden Ultra as a default. Still, if you can do an overnight render the Ultra setting did get significantly more detail out of the images. This might be especially important for non-organic models like this.
The [hidden-by-default] Ultra setting did get significantly more detail out of the images.
Here’s the High quality result in real time so you can judge the geometry detail (switch to MatCap render for that through the gear icon) and the texture.
For comparison, RealityCapture was a lot faster with its High preset and delivered this result in under 2 hours total:
While it looks good at first but even though it has 3.3M polygons, switching to MatCap mode reveals some serious issues with the geometry. It’s noisy and inconsistent to say the least. This wasn’t so clear on my more organic models (see below) but did make results from RealityCapture technical, flat-surfaced objects less usable. It’s also a good illustration that with 3D capture, there’s no actual relation between polycount and quality — just like megapixels and 2D photography.
Organic Object Outdoors
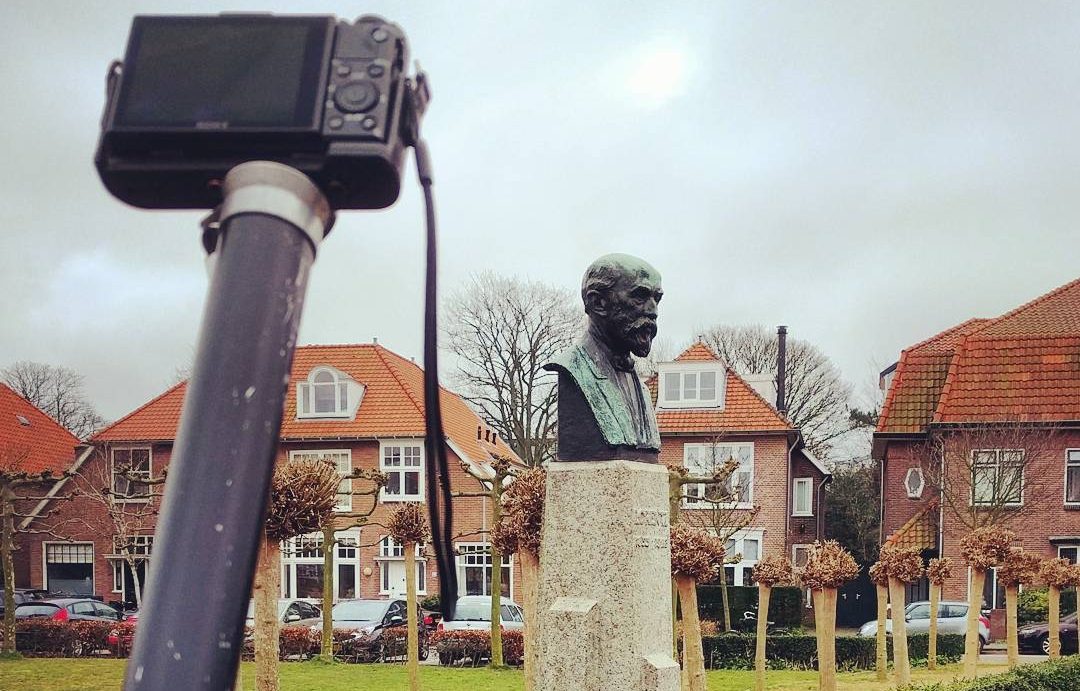
The next object is a bronze bust I shot outdoors in a park near my house with a 20.2MP Sony RX100M2 on a monopod. The set has just 48 images so it would be compatible with Zephyr Free. It was processed with at High quality:
For comparison, here’s the same photo set processed with Agisoft PhotoScan, also at High quality.
While PhotoScan (and RealityCapture) left a hole in the top of the head, Zephyr (and ReMake) were able to generate a complete result from a very sparse photo set without hole filling. However, PhotoScan clearly wins here in terms of geometry details (check the eyes in MatCap mode) while processing times at this quality level were similar.
Zephyr was able to generate a complete result from a very sparse photo set.
Organic Object Indoors
Here’s my famous knitted Teddy Bear, shot indoors with a studio light kit (read my Beginners Guide to 3D Scanning and Photogrammetry for more info about light kits). The set has 81 photos and was processed with Zephyr (Lite) at High quality.
I’m very pleased with the amount of detail. But in the case of an organic object like this it must be pointed out that RealityCapture came up with this very similar result (at Normal quality) in under 9 minutes (no typo) while it took Zephyr hours.
Organic Object and Person from Video
I shot the videos for the following captures with my Nexus 5X Android smartphone in 4K UHD quality. I used the Cinema FV-5 application because that can lock both the auto-exposure and auto-focus — both essential for this kind of shoot. I recorded a 50-second portrait-oriented video by walking around the bust and set Zephyr to extract 1 frame per second. So at 50 frames this would also work in the Free version.
After processing, I noticed that the initial result was a bit too noisy for my taste so applied Bilateral Smoothing and Retopology to achieve this result:
While this is not really the result you’d normally use photogrammetry for, the geometric detail of a 4K video capture quality is very similar to that of a depth sensor, with better textures. To illustrate this I’ve embedded the result of the same object scanned with the 3D Systems Sense 2 (Review) below.
4K video capture quality is very similar to that of a depth sensor.
And like I wrote earlier, because you can capture something in under a minute you can also try it out on people. Below is my business partner Patrick, first a 4K smartphone video processed by Zephyr (Free) and then a scan from Structure Sensor (Review) with itSeez3D (Review) — none of which are free.
Besides the fact that Patrick is working on his posing skills since he know that this website is generating serious traffic, the first result is not bad at all and arguably better than the depth sensor’s — again, for free. Keep in mind though that pulling this off without the comfort of the real time fusion progress overlay of depth sensor software requires some practice.
For me, it is now becoming my new default way to capture everyday stuff in 3D on the go with just my smartphone. And it really made me rethink why I would need a Tango-phone for casual 3D scanning.
Verdict
3DF Zephyr is a very complete photogrammetry tool. At $149 the Lite version (which would be enough for my purposes) is priced just below PhotoScan Standard ($179) but offers a totally different experience. The user interface will be familiar to people with experience with graphic design, video editing or 3D modeling software. It’s well designed and efficient to use. And if you want to dive into capturing small objects as a hobby, education or art project, the 50-photo Free version might be just the thing you need.
Feature-wise Zephyr has everything. It can load JPGs, RAW photos and even video files. In the latter case it does a very efficient analysis to discard too similar and too blurry frames, making the (smartphone) video-to-3D-workflow very convenient. Results from that are actually very usable for casual purposes and low-poly purposes, especially when the source video is 4K quality. With some practice you can even capture people with just a two-year-old smartphone.
Zephyr should run on a lot of systems because it just requires a DirectX 9C+ graphics card but even on my modern desktop gaming PC with brand-new Nvidia GTX1070 GPU Zephyr was slower that its competitors. That said, it can easily be set up to run the complete photogrammetry process as a batch for overnight processing and the results on non-organic objects are better than those from the blazing-fast RealityCapture software. Plus, Zephyr features a comprehensive set of mesh editing tools while RealityCapture can’t even preview meshes let alone edit them. There’s something to be said for both approaches and it depends on how familiar you are (or want to get) with external 3D editing software.
3DF Zephyr Lite probably attracts the same professional audience as Agisoft PhotoScan Standard. They’re both support the full workflow from loading photos to editing meshes and they both offer affordable, single-purchase licenses. Both have their own unique features. So choosing between the two would come down to taste and your specific 3D pipeline. My advice would be to simply try out the free trials both offer and find out which one wins your heart.
If your a hobbyist, you probably want to choose between the Free versions of Zephyr and Autodesk ReMake which are both limited to 50 photos. It will probably be a choice between the comfort of cloud processing at limited quality versus waiting longer for better results. But what’s holding you back from installing both?

Get Discount on 3DF Zephyr Lite
I recently reviewed the excellent 3DF Zephyr photogrammetry software.
If you use the button below you can order the Lite version with $10/€10 discount!
Thanks again for reading! If you have any questions or remarks, feel free to leave a comment below. And if you think this review could be useful for your friends and followers, I’d appreciate it if you share it on your favorite social network!
If you need tailored advice about Photogrammetry and/or any other 3D capture methods — or can’t decide between them — please consider my Consulting Service.

[…] https://3dmag.com/reviews/3df-zephyr-photogrammetry-software-review/ […]
Based on the Matcap renderings of the Patrick you posted with the “4K smartphone video processed by Zephyr (Free)” vs “Structure Sensor (Review) with itSeez3D (Review)” is it safe to say that if you were to make a 3d print in just white and no colors that the Zephyr version would give you more detail? Would you get an even more detailed print if you were to have used your 20.2MP Sony RX100M2 on Patrick and processed it with Zephyr?
Thanks!
Yes the Zephyr version has more details but scanning people with single-camera photography is very hard. Using 4K is a way to speed up the capture time so people wont move. Using high-res photos would result in better quality but is extremely hard to capture without the person moving.
So it’s a hard comparison.
Thanks for all your reviews! Even though I’m not a 3D scanning pro, your posts have helped me understand different options available for 3D scanning. 🙂
Right now I am looking for the best way to get foot data from clients. It seems that Photogrammetry solutions would be easiest for clients because they just need to have a smartphone to take photos. What do you think? If so, is there one software you would recommend for processing feet info (accuracy of at least 0.5mm)? If not, which scanner/software would you recommend?
Thank you again!
In the camera case, how did you capture the bottom of the camera?
If your object is on a evenly colored surface without any shadows you can rotate it any way you want. If you do have inconsistencies in the background you can use the masking feature.
This review was outstanding boss! Thank you so much. I believe I’m going to go with 3Df. I hate that most of the other great photogrammetry softwares are either too expensive or subscription based. The creators are definitely thinking about the college students like myself.
I do have a question, Nick. In the 3d viewer, I rotated the camera you scanned in and saw that the bottom of the camera was also scanned in. How do you get the entire object processed? The bottom part of the objects I scan are never processed because I keep the object standing upright. Is it simply placing the object on its side and photographing it, what you do as well?
I see that Andrea from 3DFlow has already answered your question below but not as a Reply so you might not have gotten a notification.
If your object is on a evenly colored surface without any shadows you can rotate it any way you want. If you do have inconsistencies in the background you can use the masking feature.
Hey Q,
you need to mask the images
masking with 3DF masquerade (bundled with zephyr) is very easy https://www.youtube.com/watch?v=dGRw8LbXknU
You state that the free Zephyr version can export .obj. I couldn’t do it, the version I downloaded is just a demo, goes the whole way, but you can only visualize, or save a snapshot, not an .obj. It makes sense, but means that the free version is quite useless for any practical purpose
I see that Andrea from 3DFlow has already answered your question below but not as a Reply so you might not have gotten a notification.
The Free version is fully functional, including OBJ export. But you might not have generated a mesh yet if you don’t see that option.
Marco, you need to go all the way and make the textured mesh. If you stop at the mesh then you can’t export
That’s True 🙂
First of all, great website! Really usefull for my bachelor thesis.
However, I do have a question. Which software do you recommend for processing as fast as possible? Preferably in the directions of a couple of minutes. I have a set of about 40 photos, which is giving good results in ReCap, but I prefer something local, because that will probably be faster?
40 Photos is within the limits of 3DF Zephyr (student-friendly) Free version, so why not try that? If you have a decent graphics processor and don’t go too wild on the quality settings it will process quite fast for just 40 photos.
Thank you for this nice review.
I´m looking for some software, where i can change the cloud processing. I want to produce some nice 3D models form cars and would l like to at some own scripts for better outputs. The reflexions are problems, but i found some tips and tricks to solve the problem. But for this I’m looking for some photogrammetry software where i can try my own algorithms .
Can you recomment on software for my ideas?
Thanks!
Thanks so much for this, so helpful.