
Update January 2018
Autodesk ReCap 360, including the web-based interface, has been discontinued on December 1, 2017. The photogrammetry functionality will be moved into Autodesk ReCap Pro as a feature called ReCap Photo. I have reviewed this software separately.
![]()
Including Sharing on Sketchfab
Now that 123D Catch is no longer available, ReCap 360 is the only way of accessing Autodesk’s excellent photogrammetry engine from you smartphone — for free.
I wrote a Full ReCap 360 Review earlier, but in this Tutorial I’ll show you how you can make 3D scans with the Autodesk ReCap 360 web app on your Android phone and share them through Sketchfab. I made this separate post because I personally like photogrammetry (and photography in general) on mobile. This is actually the workflow — which is kind of a workaround — I use myself!
Unfortunately, ReCap 360 doesn’t work on iPhones — Safari and Chrome will trigger “not supported” message. If you’re an iPhone user you can check out Trnio for iOS or just shoot photos with your phone and upload them to ReCap 360 on your computer by following this tutorial.
Want to Automate your Autodesk ReCap 360 Workflow?
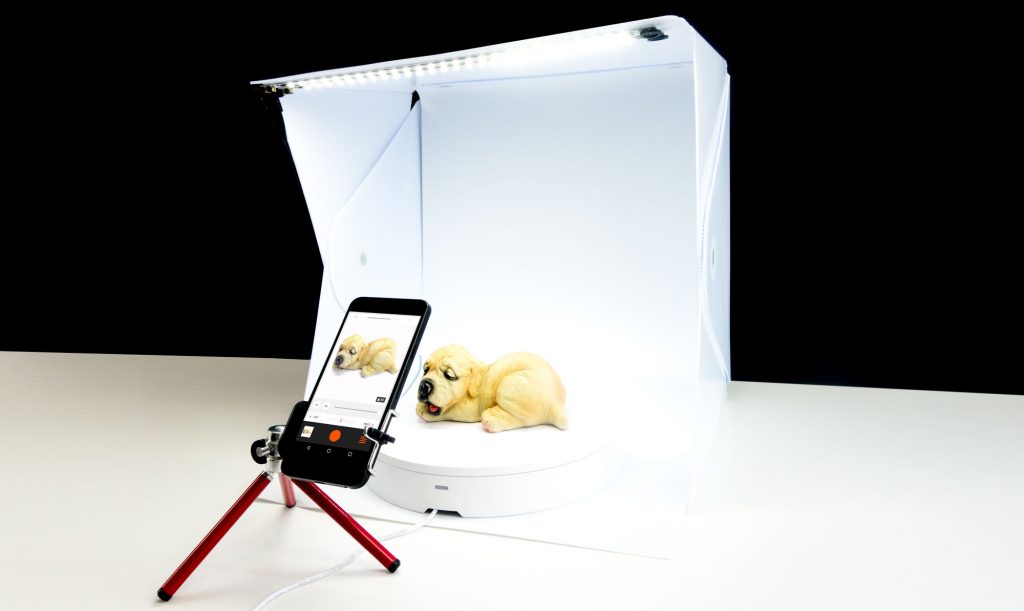
Make the Photos
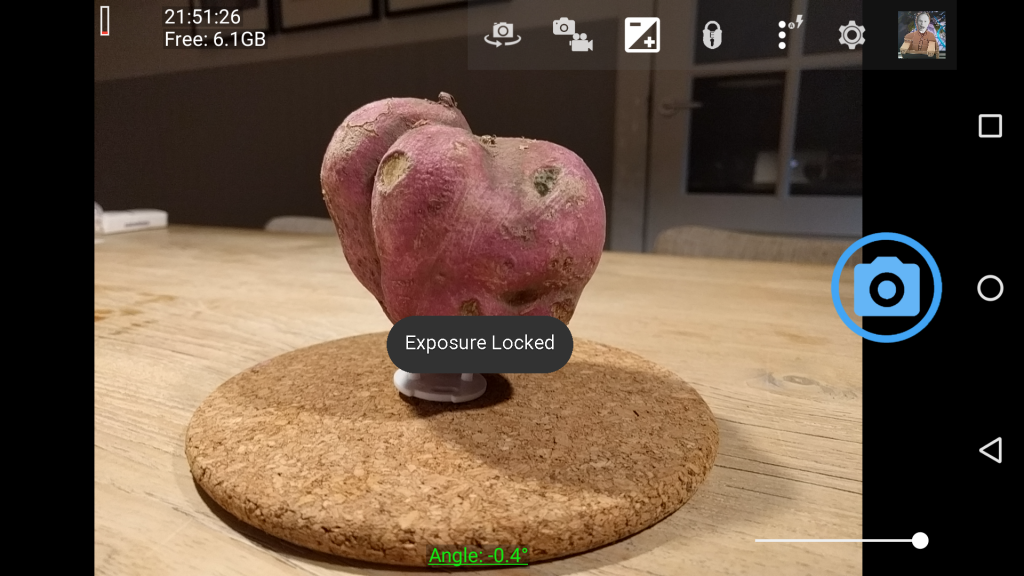
- Make photos of the object with a photo app. The standard one usually does great, but it’s preferable to use one that let’s you lock the exposure manually like the free Open Camera app shown below. If possible, place your object on a surface with trackable details but keep in mind that ReCap 360 won’t let you crop that away so also chose something nice and neutral if you don’t want to do external editing. I chose this cork pan mat and wooden table because they track well but won’t distract from this awesome vegetable (by the way, there are so many awesome fruits and vegetables on Sketchfab because of a 3D scanning contest).

- I put the sweet potato on something that could elevate it a bit so I won’t have too much dark shadows on the bottom. If you also want to capture the bottom completely, you can put your object on something thin and taller. Tip: get a cheap receipt spike!
- Ideally you should shoot outside on an overcast day, but indoors usually works just fine. For small objects, take a minimum of 18 photos in a 360° circle so you’ve covered very angle, and also take minimum of 6 photos from a down facing angle in a 360° circle. More is better, but keep in mind that the total amount for the free version of ReCap 360 is 50. So just go for 50 to be safe and capture the most details! Including a few close-ups can help with this.
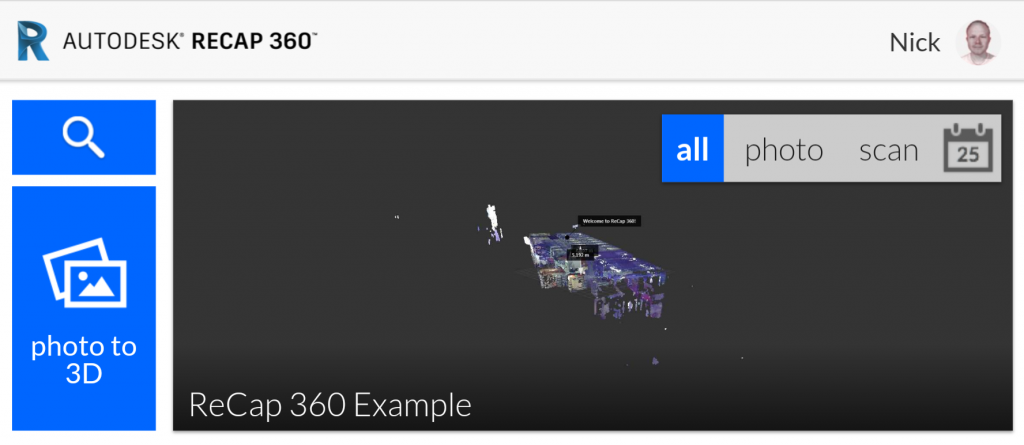
Upload to ReCap 360
- Register a Free Autodesk Account if you don’t have one yet. This will give you access to the free ReCap 360 Web interface and 5GB of free cloud storage on Autodesk’s A360 Drive.
- Go to recap360.autodesk.com on your smartphone and follow the steps below. It should be noted that this service is not fully mobile optimized — at least not for Chrome on Android. This is a bit of a workaround, but the interface works fine as long as you use it in Landscape Orientation! Otherwise the navigation buttons on the bottom might not always display correctly.
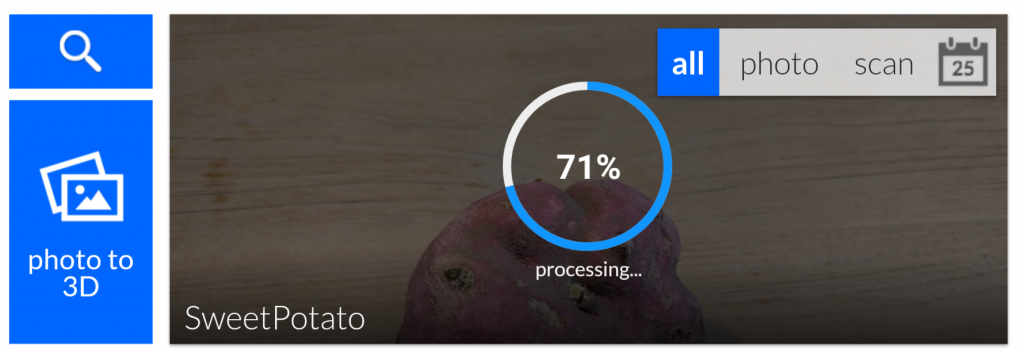
- Tap the blue Photo to 3D button on the left to start a new project.

- Tap “add photos”.

- Choose the option “Files” from the Android chooser. Tap and hold the first of your sequence of photos until it’s selected, then tap the rest to select them all. Click “Open”.

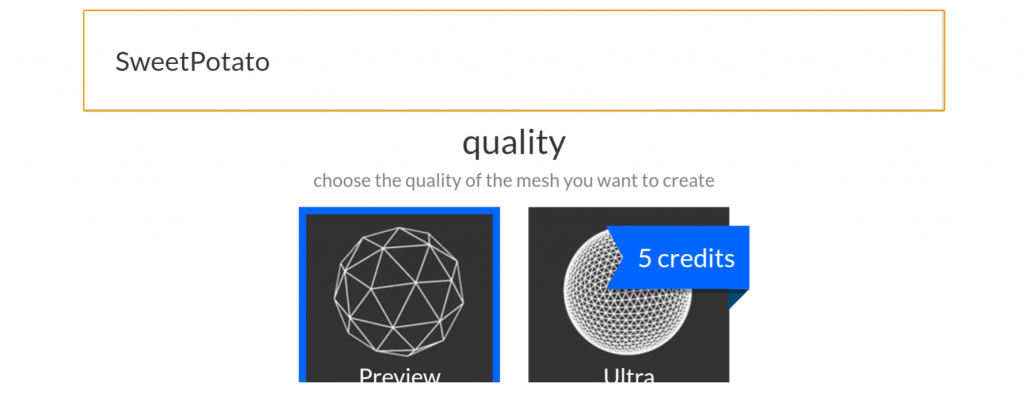
- Give your project a sensible name. The Preview quality is free and more than enough for the purpose of online viewing sharing in 3D. It’s even too complex for VR. It’s also enough for most 3D printing projects at small sizes — especially full color (exported models are not watertight and thus not 3D printable without editing, though)

- Turn “Smart Cropping” on. This is actually a big win compared to 123D Catch which missed that feature. Then click create.

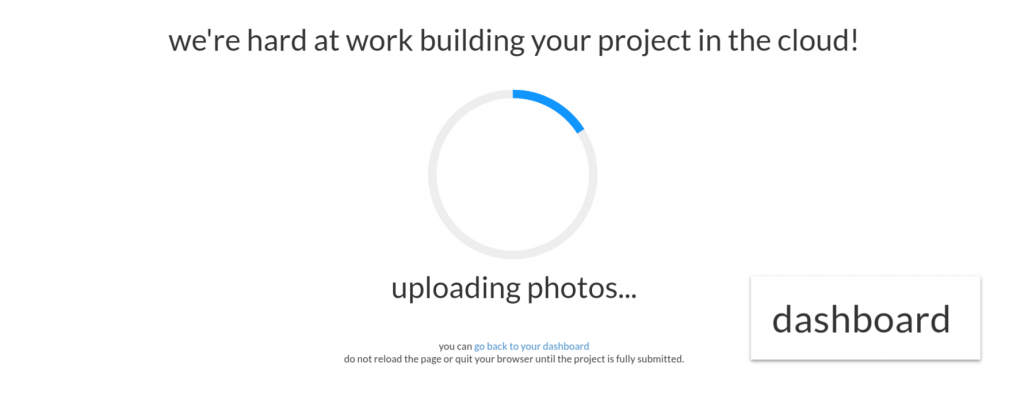
- You photos will be uploaded. Keep your browser open until this process is finished. Needless to say that this will work on a mobile data connection, but might be faster on WiFi. If you have a fixed mobile data plan, take note that each photo can be a few MBs so 50 photos can really add up!
- You’re project will be put into a queue and will be processed automatically. You can close Chrome and do anything else. Just check back every now and then to check the progress. This could take anywhere between 10 minutes and an hour. It will not send you a notification e-mail like it promises.

- When it’s finished, tapping the project it will enable you to check the result. This viewer is everything but mobile-optimized though, so navigation is nearly impossible. If it’s okay, tap the home icon to return to the home screen. If not you might be able to fix it but that’s best done on a desktop computer by following this tutorial.
- To download the 3D model a desktop computer, you can trigger a pop-up menu from the bottom right of the project’s tile but this doesn’t really work on Android. But there’s a (possibly better) way: Just go to your 360 Drive by visiting a360.autodesk.com/drive, log in and open the folder with the same name as your ReCap 360 Project. Then click the filename that ends with .obj.zip and click the download (down-facing arrow) button in the top right corner on the page that follows.


Uploading to Sketchfab
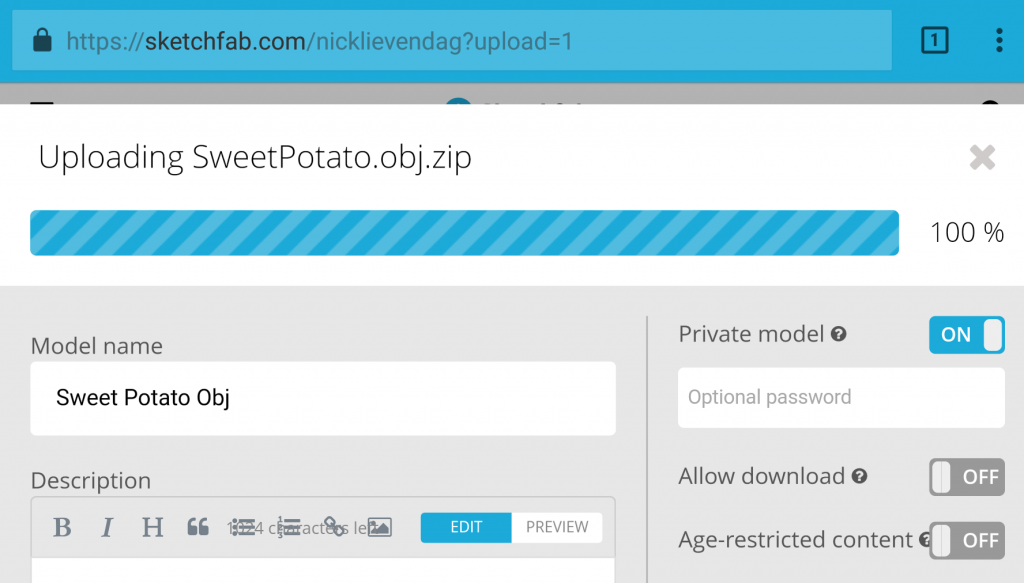
- After the .zip file has been downloaded to your phone, visit sketchfab.com and register a free account if you don’t have one yet. Be sure to be logged into your account.
- The Upload button doesn’t show when visiting Sketchfab on a mobile browser, but you can simply go to sketchfab.com/upload (while already being logged in) to start this feature anyway. Upload the .zip file you just downloaded by tapping the upload button, selecting the file and tapping continue. Of course, you should give it a great name (without “Obj”, obviously!) and description. And also tag it with at least #3dscan.
 Private models are a Sketchfab Pro feature, by the way. Also keep in mind that the file size limit for the free version is 50Mb. My Sweet Potato was 12Mb, so I guess you’ll always be fine with scans of small to medium objects.
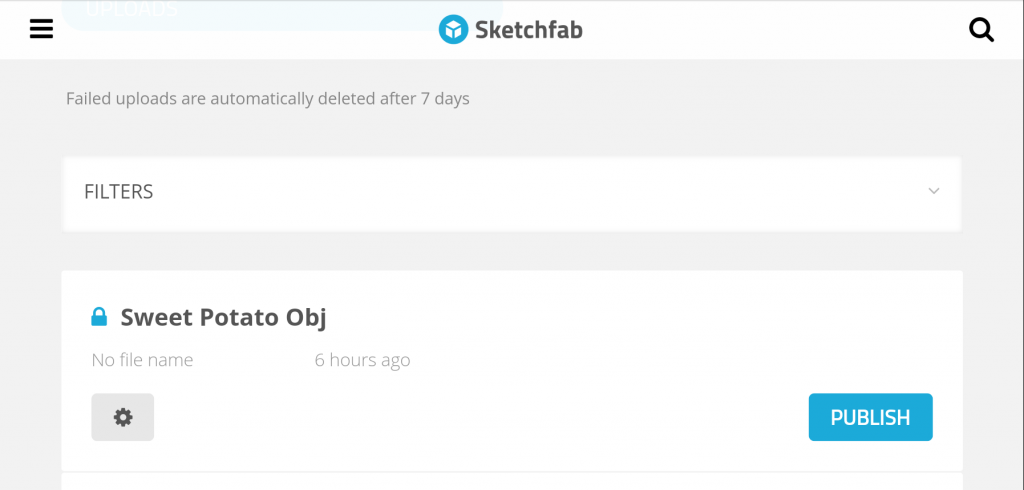
 - Processing on Sketchfab may take a few minutes but like ReCap you don’t have to wait for it. When it’s done, Sketchfab will show you your scan when, but no button to publish it on mobile. To publish the model, first visit sketchfab.com, go to your profile and click the uploads button. (or go to sketchfab.com/yourusername/uploads directly)

- From the upload list you publish your model directly using the blue button. Alternatively, you can tap the gear icon and edit the 3D Settings. If your phone can handle this and you have a large screen, you can use that to do some quick editing. It’s usually necessary to rotate the initial position of the scan to set it upright. If you’re phone can’t handle this, you can always do that later on a computer.

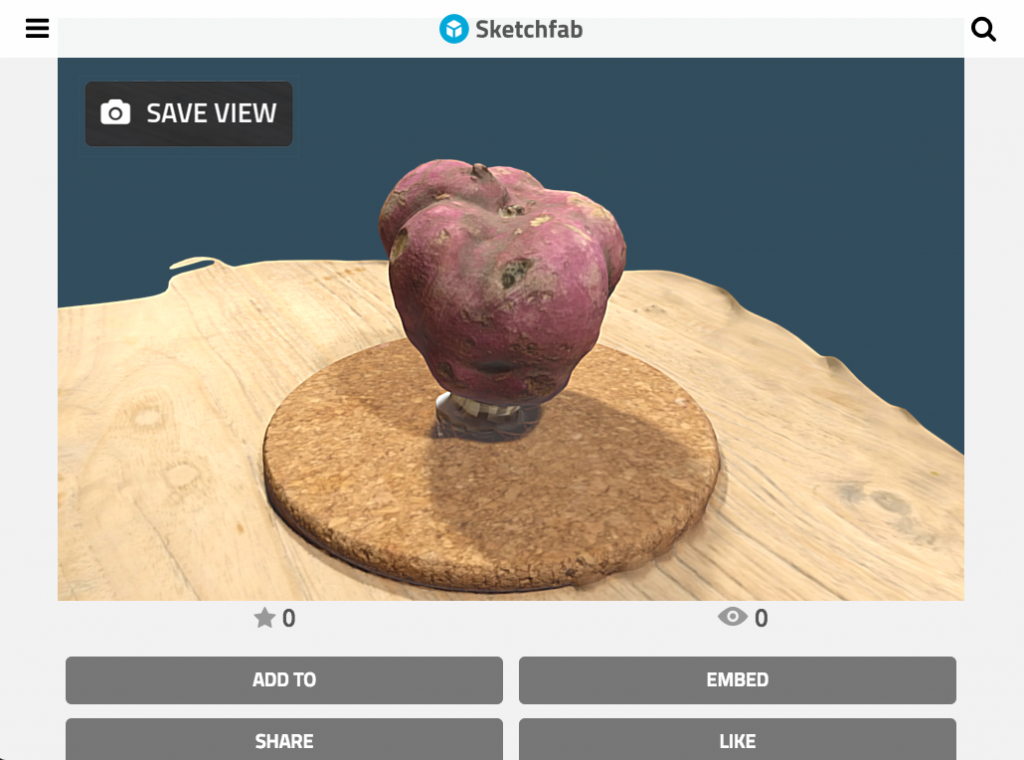
- Before sharing, I recommend to choose a nice thumbnail image by opening the model page, framing the object to your liking and tapping the Save View button. The social sharing button is below the viewer.

- And there it is:
 Private models are a
This workflow might be a bit cumbersome at first, but after one try you’ll remember it. I have used it a lot while on the road with just my phone. With a 4G connection and — a generous data plan — it works great. But I also had times when I just made the photos during the day and uploaded them at night on a (hotel) WiFi network.
I especially like the fact that I can use the photo app I want and that ReCap 360 gives great results including automatic cropping. And because all the heavy lifting is done by Autodesk and Sketchfab in the cloud, this workflow doesn’t drain my battery too quickly.
Please let me know if you have any questions or remarks in the comments.
Want to Automate your Autodesk ReCap 360 Workflow?


Nice one Nick! You can also share projects from the ReCap dashboard to the online gallery: https://gallery.autodesk.com/recap360
*Why* exactly was 123Catch discontinued? Is it Autodesk’s apparent “make everything eventually a Cloud-only something”?
PS. I tried looking/posting this question on Autodesk’s forums – what a strange interface – they seem to have forums for individual products, but not “general questons”/”topic” forums. Or did I just miss something?
Hi Nick, Greetings from Argentina. I wanted to ask you if with this soft Recap in your online version I can make 3d images to be used in 3d printers. I’m using Tinkercad. My idea is to be able to get something with which you can digitize 3D images to make designs with those printers. Thank you very much!!
I’d advice you to use Autodesk ReMAKE instead of ReCAP.
ReMake also has a free version, which has similar abilities to ReCap. The advantage of ReMake is that you can also edit the scans with this and even perform specific automatic quality and error checks for 3D printing purposes.
Check out my Review here: https://3dmag.com/reviews/autodesk-remake-review/
Yes, it is the one he had seen. But from what I saw the free conversion only gets in local mode and has some very high system requirements. And to do it online is a payment …
The Free version also allows 50 Photos in Standard Quality through Cloud Processing. Same as ReCap 360.
Hi Nick,
Great Review. Could you share how you take photos to get good results? I saw the 3D models from you and theyŕe really detailed and impressive.
Hi!
Is it possible to use Recap Photo on free mode as with 123D Catch? I used it in my classes on photogrametry, but I don’t know what free sw to use now.
Thnaks.
How do we continue to make 3D capture from photos? (without a scanner)
Nick, thank you for this tutorial,
What I am looking for and 123D Catch was able to give it to me, is the UV map of a 3D scan. In other words id like to see in 2D the texture and color of the surface of a 3D scan, as if it was a big decal.
Do you know how could I achieve this?
Thank you sr!
[…] DSLR y 123D Catch para Windows. Si 123D Catch no le funciona, intente como alternativa: ReCap 360, aquí está su tutorial […]